About the Project
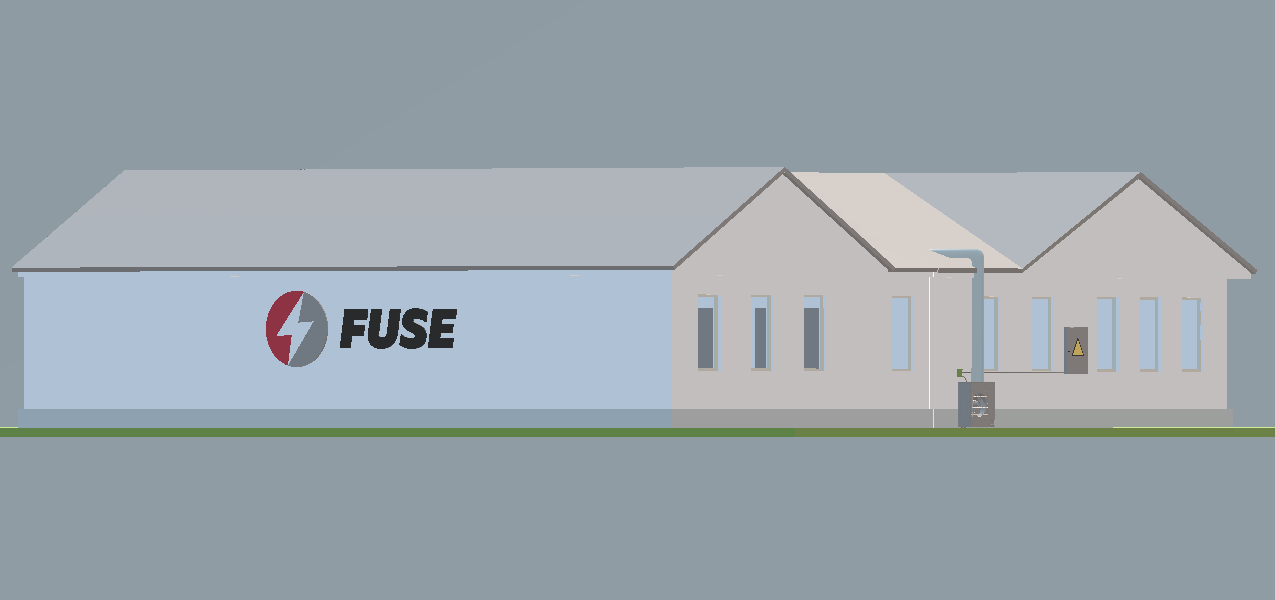
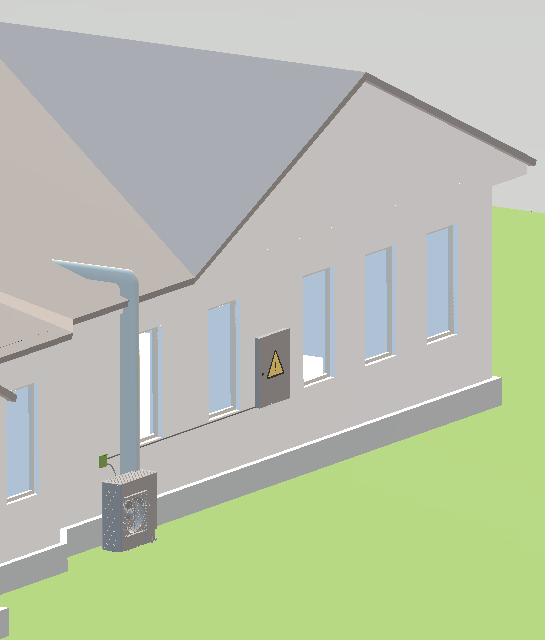
We often create detailed 3D models before we start the installation. This allows our clients to see in advance how the equipment will look on the facade. But not only that! It is an important step to check how it will fit into the architecture of the building.
How we Worked
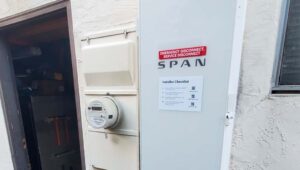
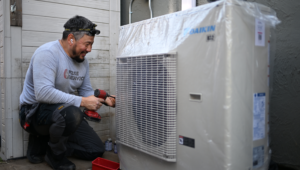
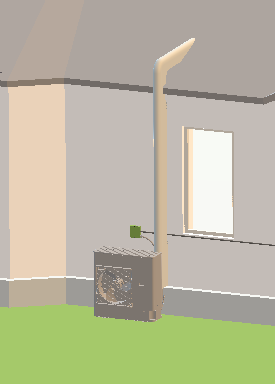
This 3D model shows that we designed all the communications to the last detail. Our technical team installed the electrical distribution board on the side wall in a convenient access area. Do you see the outdoor air conditioner unit next to it? That’s how our technical team minimized the length of the route and simplified maintenance.
You can’t see ventilation ducts and cooling lines because we hid them under the roof, which keeps the building looking neat and modern. We took special care to ensure that the equipment did not interfere with the overall architectural balance. So, the symmetry of the windows and the neat line of the roof remained unchanged.
What We Got
The model allowed the customer to evaluate the visual result in advance. This is the best way to make sure that the solution is practical and to adjust minor details before the installation work begins. This design definitely saves tons of time.

Want to See Even More?
Feel free to do it! Here is a compilation of our best 3D projects:
- Milpitas Family Got a 3D HVAC System Model;
- 3D Project of an AC System in Menlo Park;
- AC unit in 3D for Palo Alto household, California.
Our certified technicians perform all work. We carefully observe safety standards and provide an extended warranty on equipment and installation. If you want to see your future project in 3D, contact us and we will show you how everything will look before the work starts!