Most people only think about their electrical panel when something stops working — and suddenly you’re standing in front of a metal box full of mystery switches. That’s exactly why how to label electrical panel matters. It’s not a technical exercise for its own sake — it’s just making sure every switch in your home actually tells you what it does. You flip a breaker, something turns off, you note it down.
Done right, it turns a confusing electrical panel board into something readable and calm. And it quietly brings your setup in line with basic electrical panel labeling standards, the kind that electricians follow so anyone (not just the person who installed it) can actually understand the system without opening a manual or guessing.
Why Labeling Your Electrical Panel Matters (Safety & Code Compliance)
A labeled panel is mostly about removing uncertainty. In a residential setup, every breaker should clearly match a real part of the home — lights, sockets, appliances, HVAC. Without that, you’re basically working blind.
According to the U. S. Department of Energy, good breaker box labeling helps with three things in practice:
- faster troubleshooting when something trips;
- safer maintenance without random shutdowns;
- less stress during emergencies.
It also aligns with general electrical panel labeling requirements, which are part of NEC-based expectations for clarity and identification.
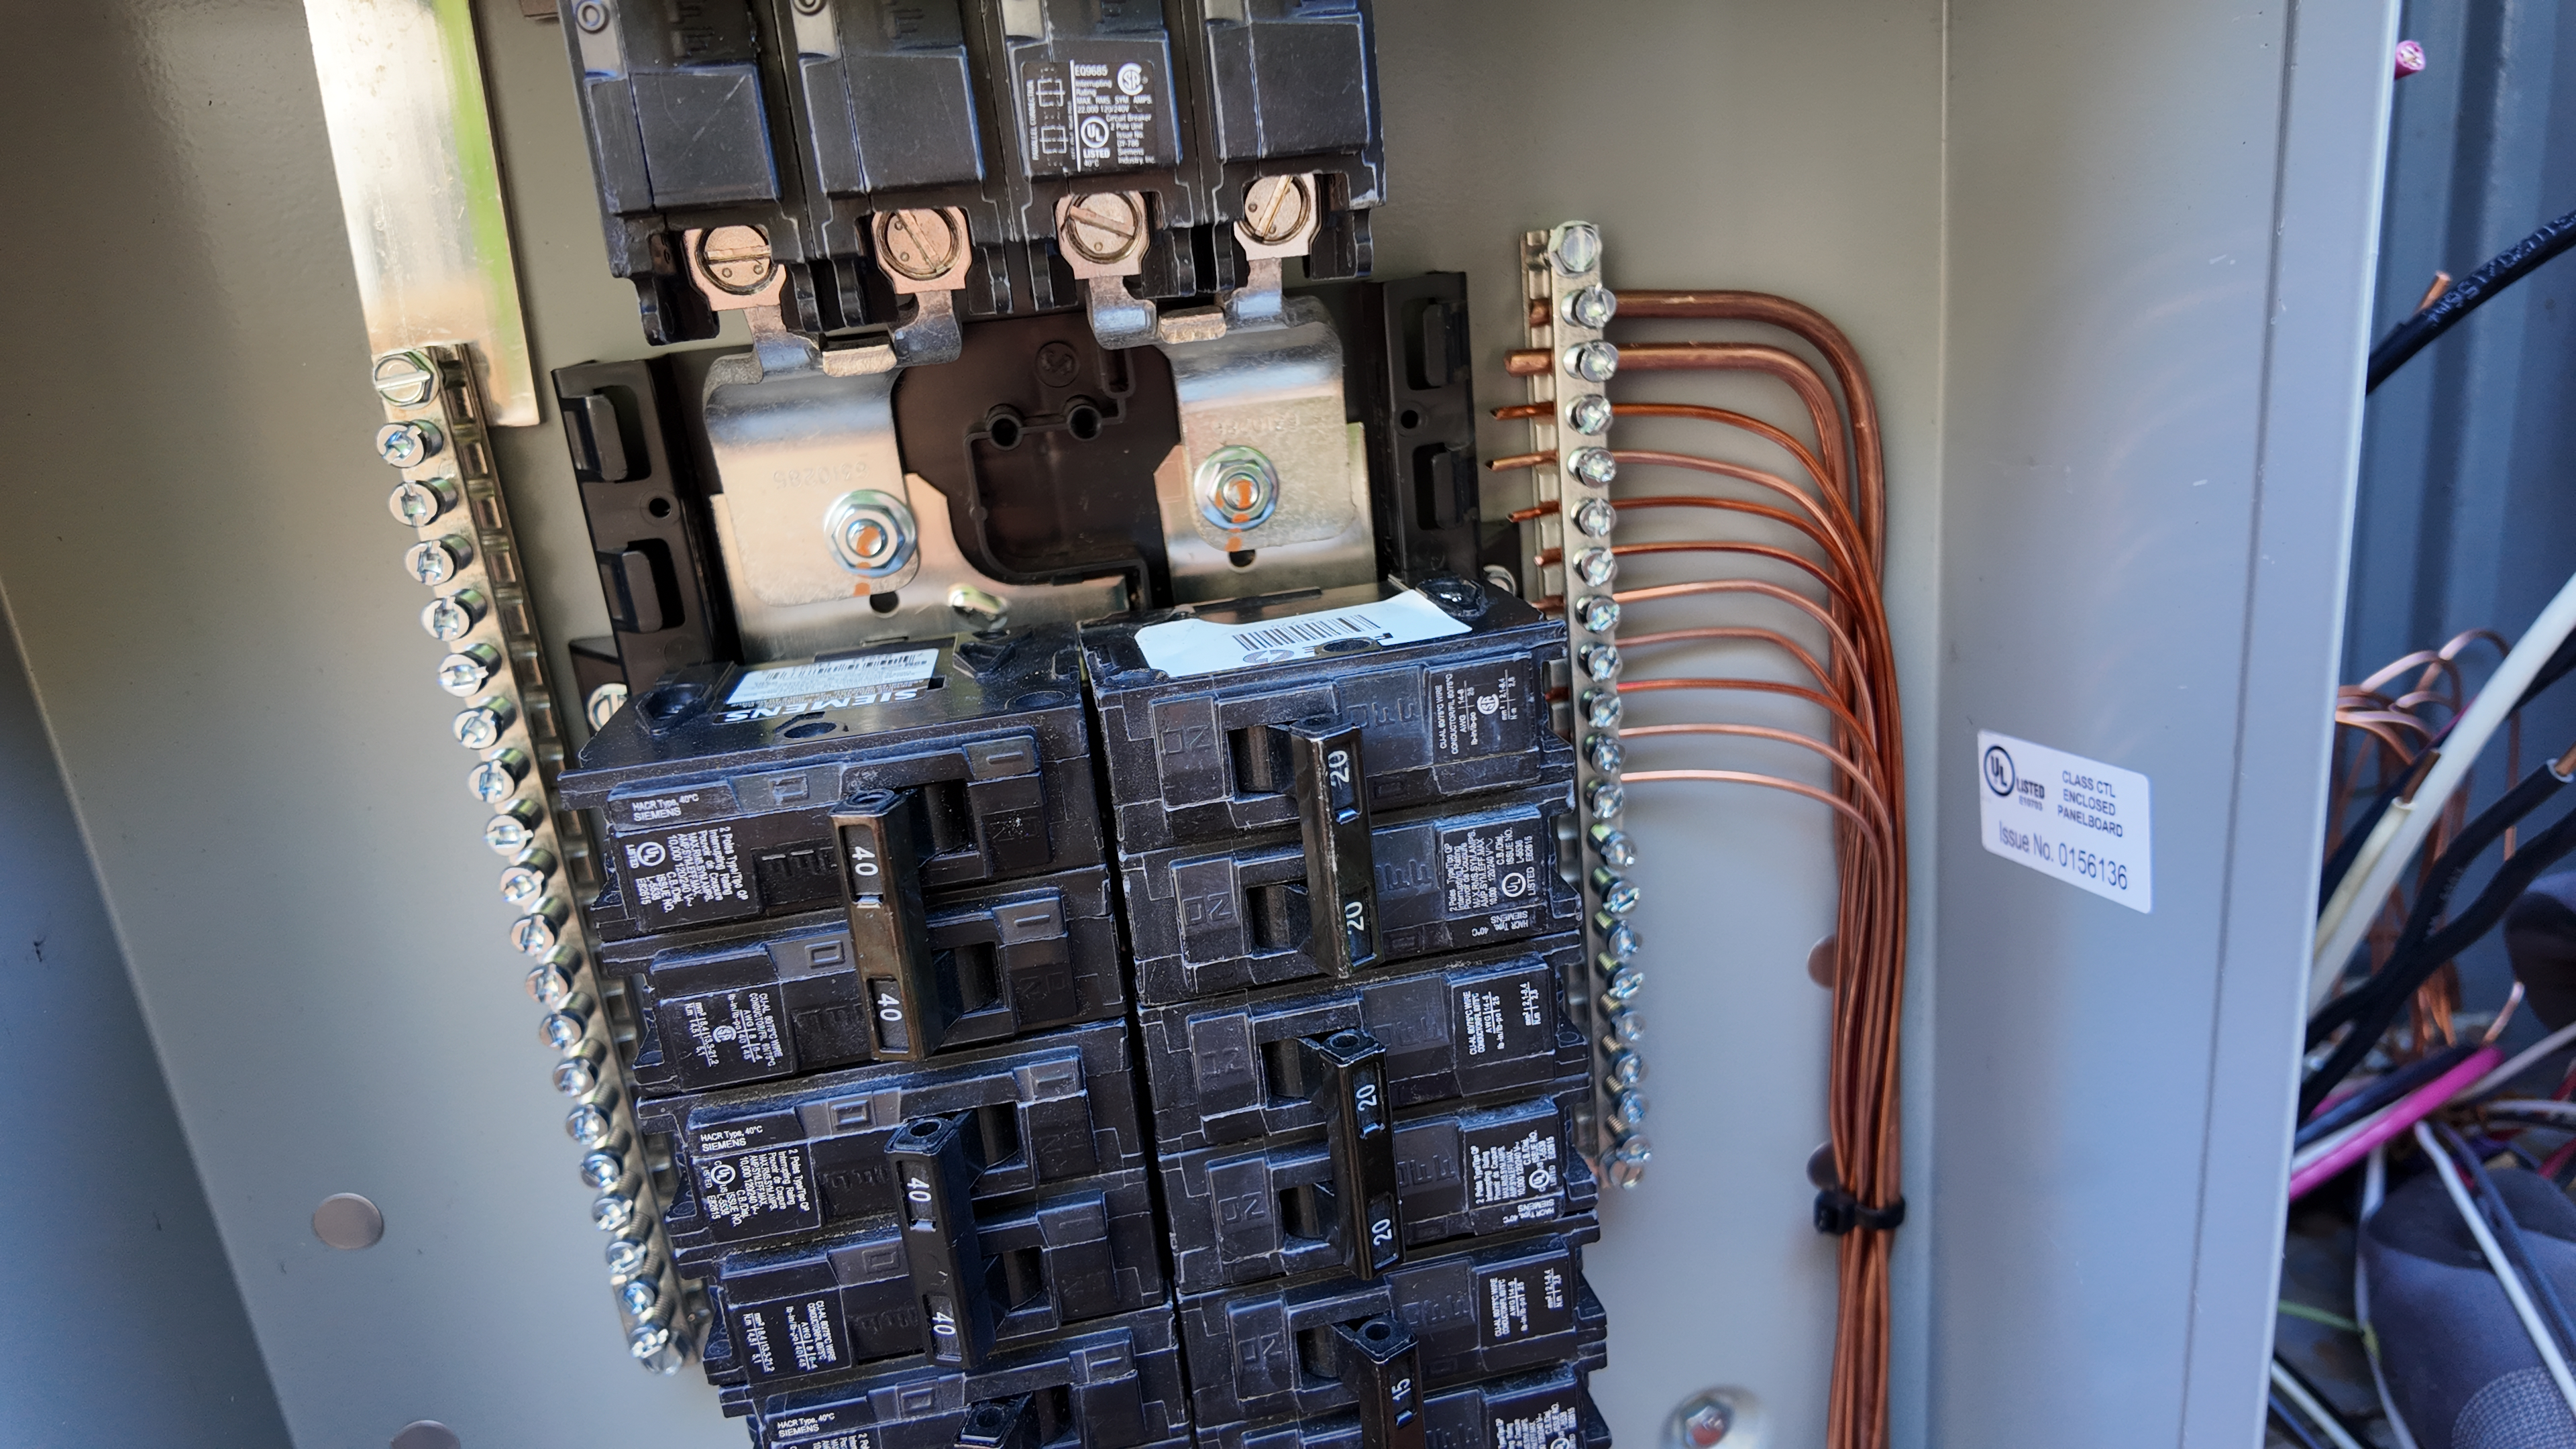
Understanding Electrical Panel Numbers and Circuit Layout
Before you label anything, you need to understand the panel structure. Most residential panels follow a predictable pattern.
| Position | Numbering | Common pattern |
| Left side | Odd numbers | 1, 3, 5, 7… |
| Right side | Even numbers | 2, 4, 6, 8… |
| Top → bottom | Main distribution | Higher load circuits often near top |
In most homes, electrical panel numbers are assigned in a structured way, but real life is messy — renovations, added circuits, and extensions often break the original logic. That’s why mapping matters more than trusting the numbers alone.
Electrical Panel Labeling Requirements (NEC Code Explained)
How to label breaker box? There isn’t a complicated formula here, just a clear expectation: every circuit must be identifiable and accurate.
| Requirement | What it means in real life |
| Clear description | “Kitchen outlets” instead of vague labels |
| Accuracy | Label must match actual load |
| Readability | Easy to read without tools or guesswork |
| Durability | Should not fade or peel quickly |
These labeling standards exist so future electricians (or you in 3 years) don’t have to re-discover the system from scratch.
Step-by-Step: How to Label Your Breaker Box
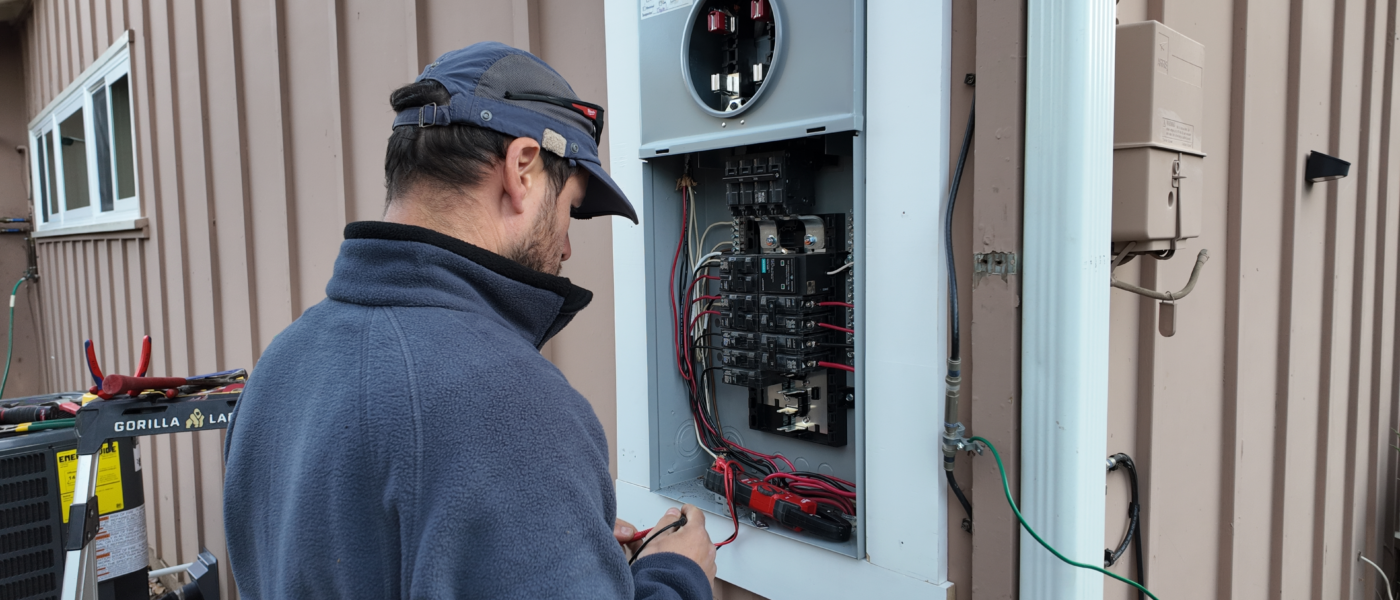
Step 1: Set up and stay safe
Check if you have clear access to the panel and good lighting. And don’t forget to stay careful around the electrical panel board, even if you’re only working with breakers.
Step 2: Identify what each breaker controls
Switch breakers off one by one and check what stops working in the house. This is the only reliable way to understand the system and correctly approach how to label electrical panel in a residential setup. It removes guesswork and makes breaker box labeling accurate and consistent.
Step 3: Write everything down
Create a simple list or sheet. This is the raw map of your system — don’t worry about formatting yet.
Step 4: Match circuits to electrical panel numbers
Now align what you found with the physical layout inside the panel.
Step 5: Create clear labels
Use simple wording:
- Living room lights;
- Kitchen outlets;
- Water heater / HVAC
Avoid overcomplicating it.
Step 6: Apply labels inside the panel
This is the final breaker panel labeling step: make sure everything is visible and consistent.
Tools and Templates for Electrical Panel Labeling
You don’t need anything fancy, just tools that make the process readable and permanent.
- Label maker (best option for clarity);
- Printed templates for breaker box labeling;
- Marker as backup;
- Circuit tracker (optional, but useful in complex homes).
When are templates especially useful? Of course, if you want consistent formatting across the entire electrical panel board. It works better instead of handwritten notes that fade or get messy over time.
Tips for Accurate Circuit Mapping
This is where most people either get it right or mess it up.
Keep it simple
Don’t write essays on labels. Just describe the load clearly.
Don’t assume anything
If you’re not sure, test it. Guessing leads to wrong electrical panel labeling standards in practice.
Update after changes
Any renovation or added circuit should trigger a label update immediately.
Common Electrical Panel Labeling Mistakes to Avoid
A lot of bad panels fail for the same reasons:
- vague labels like “misc” or “stuff”;
- missing updates after renovations;
- mixing up electrical panel numbers;
- not testing circuits properly;
- inconsistent abbreviations.
These mistakes make how to label electrical panel useless in the long run because the system stops matching reality.
“Most electricians will tell you the same thing: the label is only useful if it reflects reality. A perfect-looking panel that’s wrong underneath is worse than a simple handwritten one that’s accurate.” — Alex, certified Fuse Service electrician.
When to Call a Licensed Electrician
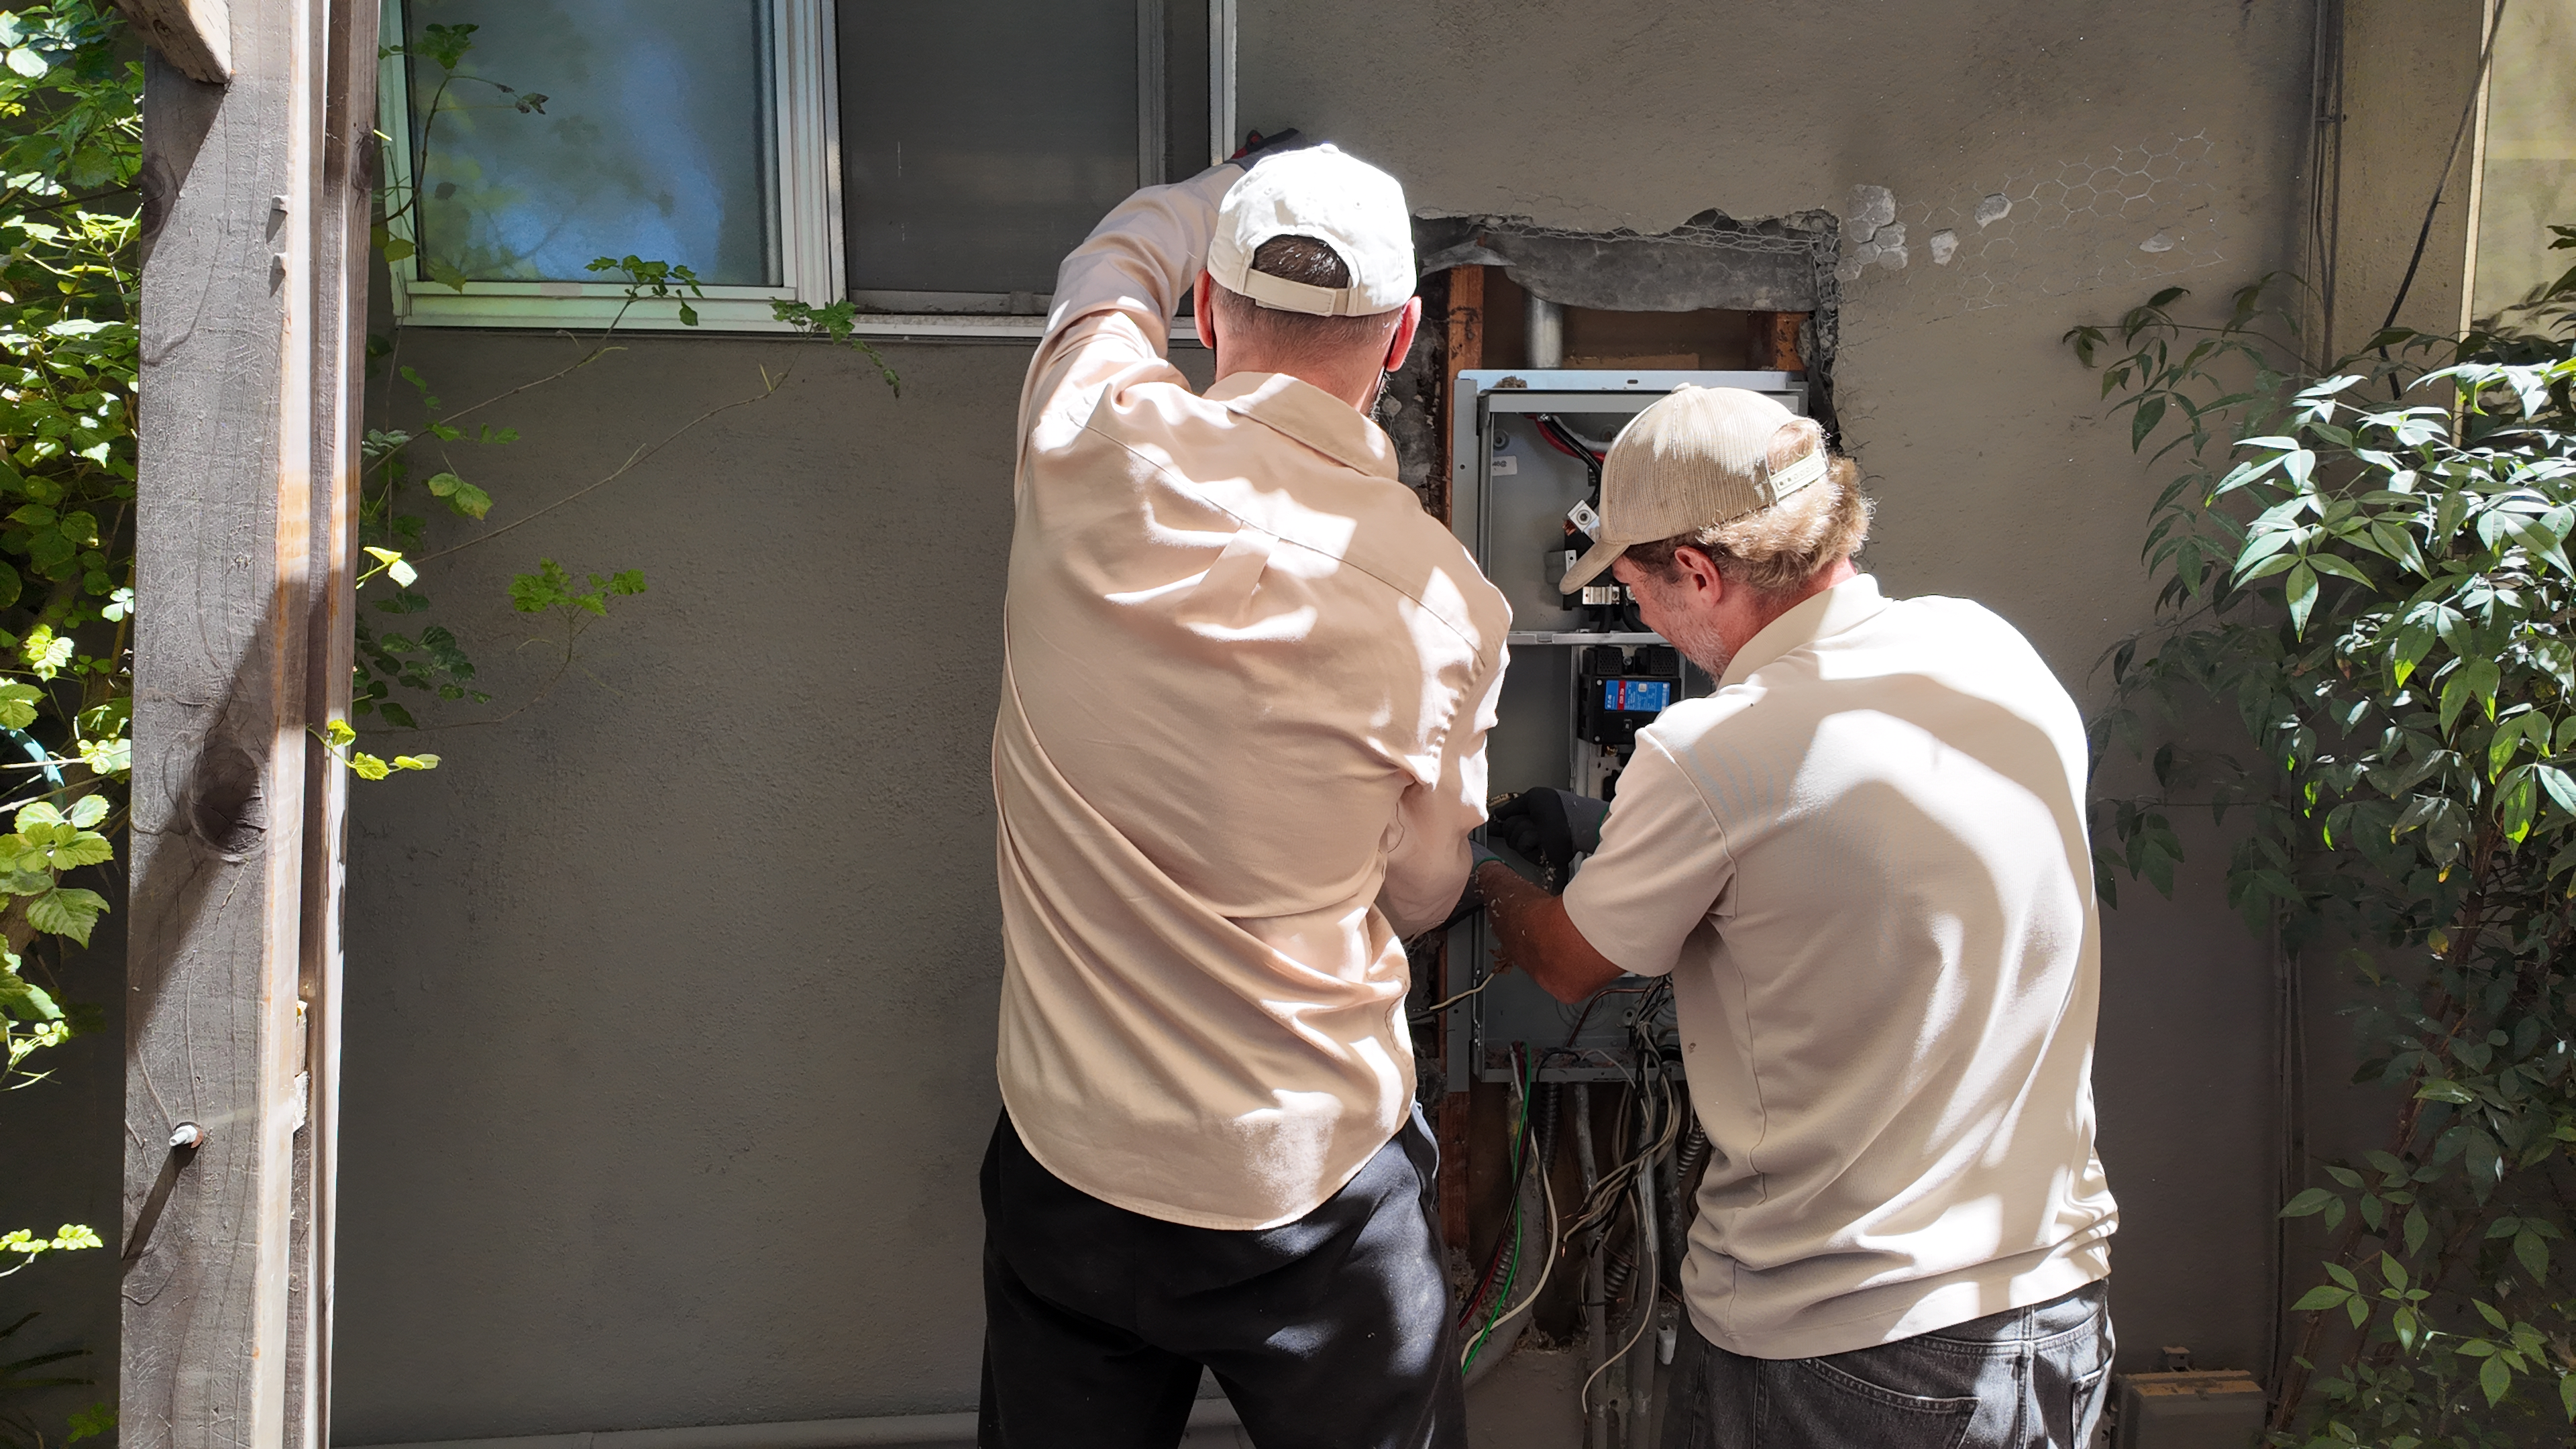
If the panel is outdated, overcrowded, or unclear, it’s often faster and safer to bring in a professional.
- A licensed electrical contractor can re-map and correct the system properly;
- If your system needs modernization, an electrical panel upgrade might be the better long-term solution;
- For local support, a residential electrician in Santa Clara can handle full inspection and labeling.