Did you just get your new HVAC system installed and are trying to set up the Nest thermostat? Fear not — we got you covered. In this article we will describe in details how to properly add your Nest thermostat to the app, how to connect the wireless sensor and how to troubleshoot the thermostat.
How to Add Your Nest Thermostat to the Nest app
- Connect your Nest thermostat to your home’s Wi-Fi network.
- Press your thermostat’s ring to open the Quick View menu.
- Select the Settings icon.
- Choose Network.
- Your thermostat will take a moment to scan for available networks. Choose your home Wi- Fi network from the
list. - Enter your Wi-Fi password if prompted
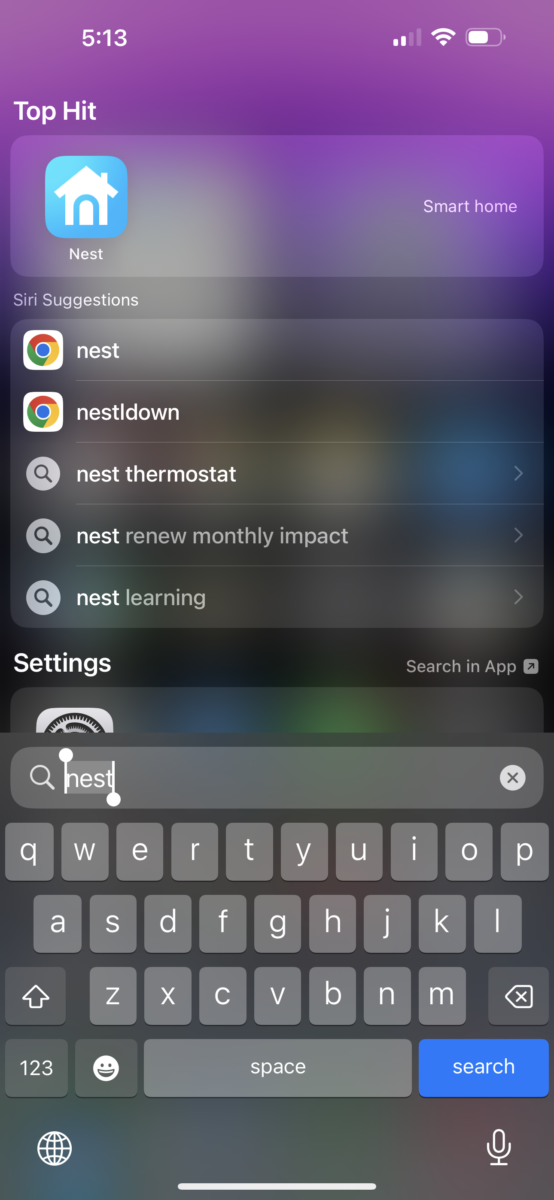
- Download the Nest app.
Download the Nest app.
Download the app for free from the Apple App Store or Google Play
Create a free account in the Nest app
- Press Sign up on the Nest app login screen.
- Enter your email address and choose a password that’s at least eight characters long.
- Once you’ve signed up, you’ll receive a confirmation email.
Note: Once you’ve confirmed your free account, you won’t be able to add your thermostat to the Nest app until the
thermostat provides the entry key.
Connect the Nest to the phone app
- Press your thermostat’s ring to open the Quick View menu.
- Choose Settings.
- Turn the ring to Nest app and press the ring to select it.
- Select Get Entry Key to retrieve your unique entry key.
- Open the Nest app and sign into your account if prompted.
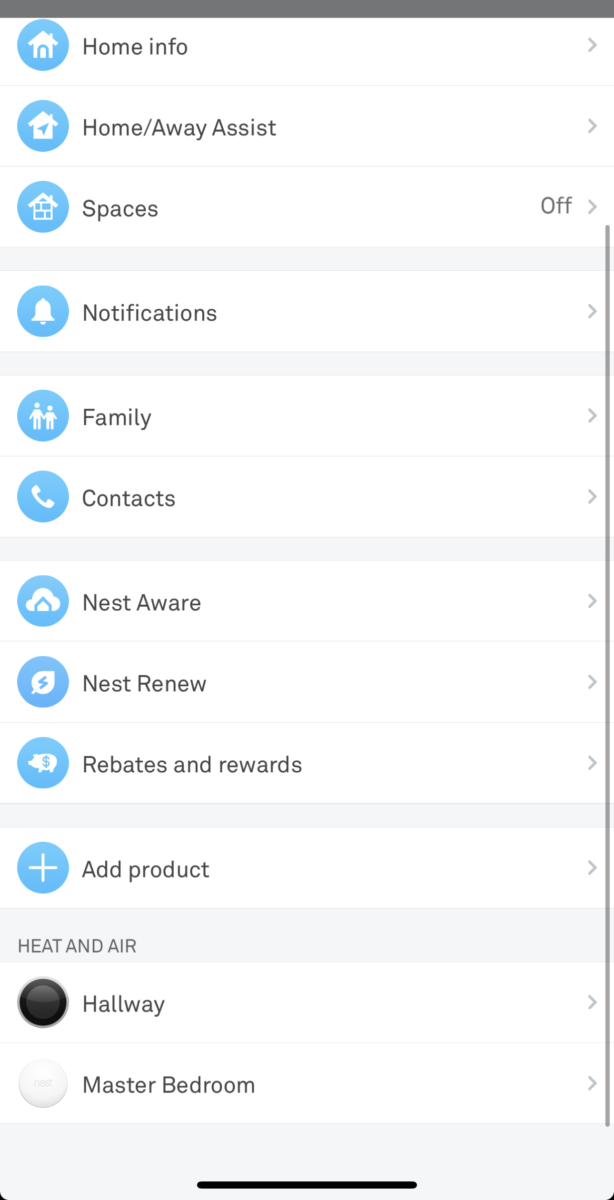
- From the home screen, tap Settings.
- Tap Add product.
- Tap Continue Without Scanning and then select the type of Nest thermostat you’re trying to add
- Choose Thermostat already installed
- Follow the Nest app’s instructions. When prompted, type in the entry key on your thermostat’s screen
Once you’ve entered the key, the Nest app will add your Nest thermostat to your account and allow you to control it
from the convenience of your phone or tablet.
How to Connect a Wireless Sensor to the Nest thermostat via Nest App
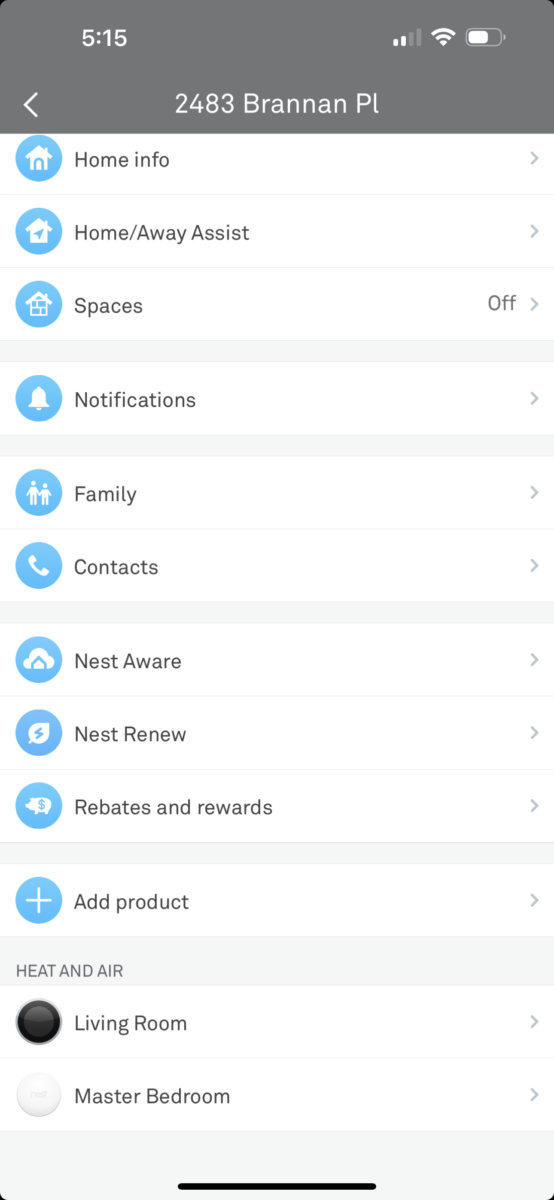
- Open the Nest app
- From the Main screen, go to Settings
- Go to Add product
- Locate the QR code on the sensor (on the piece of paper or under the back plate), then Scan the code
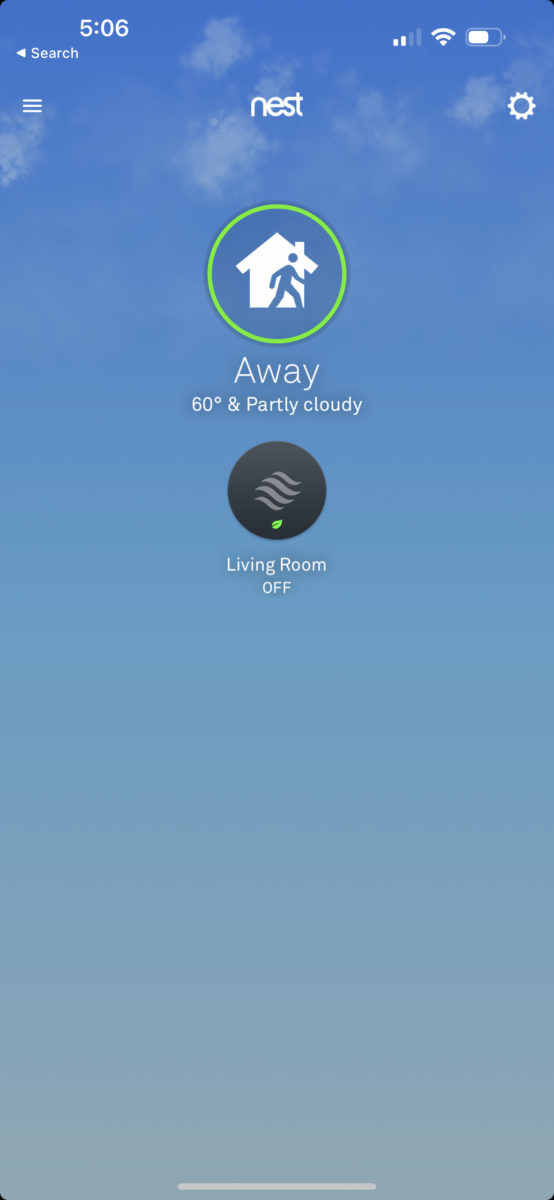
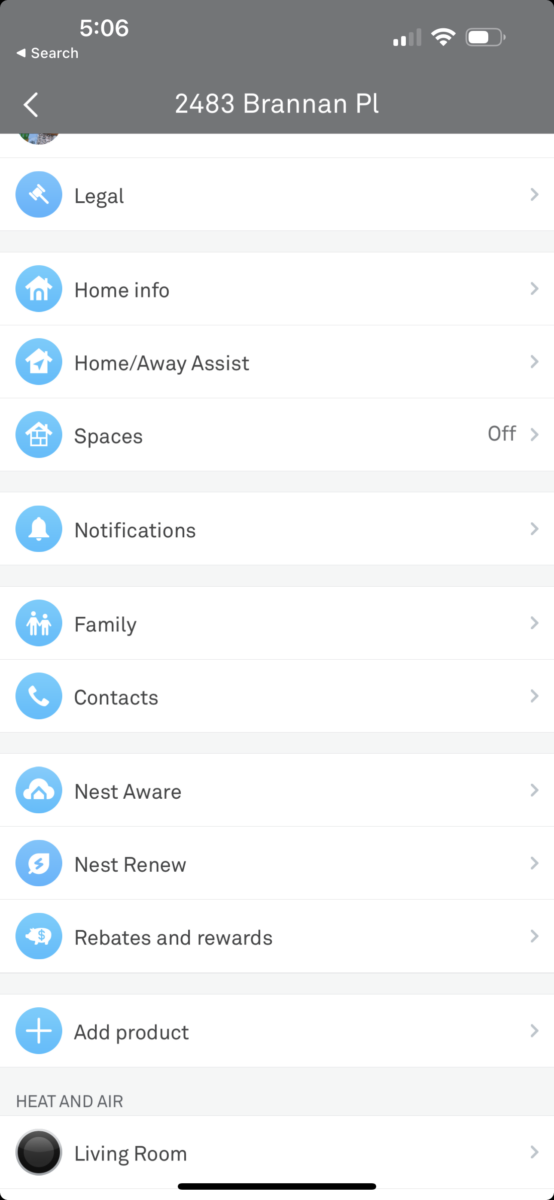
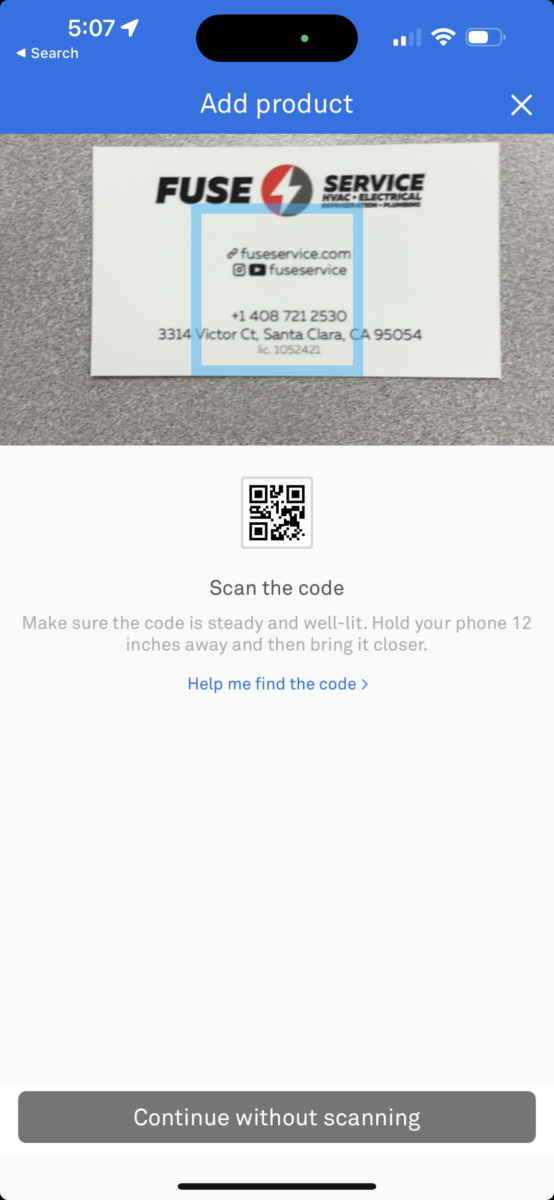
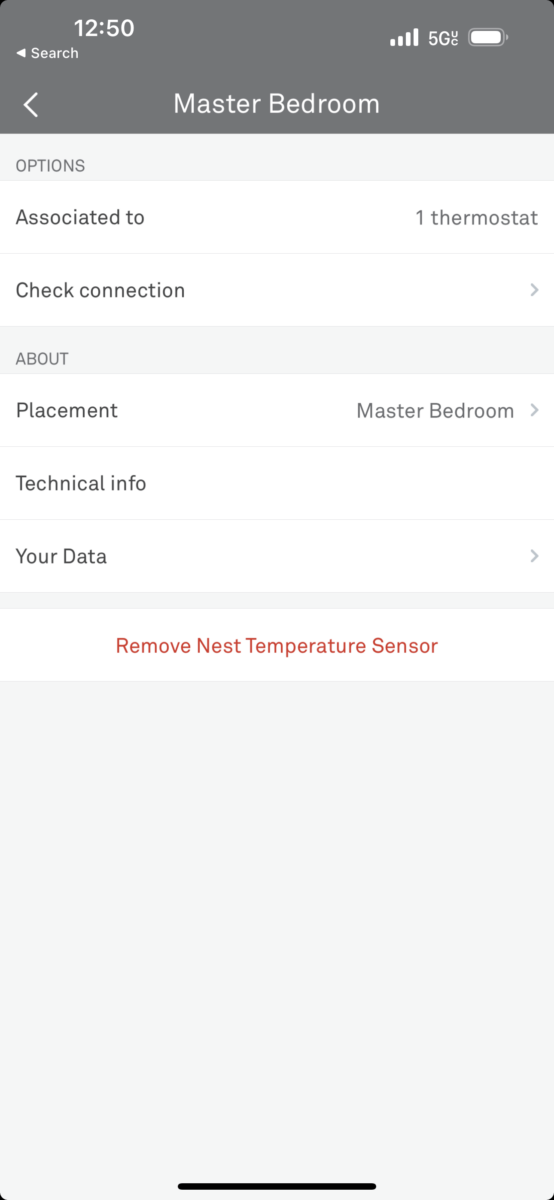
- Attach the Sensor to the Nest thermostat. Go to Settings
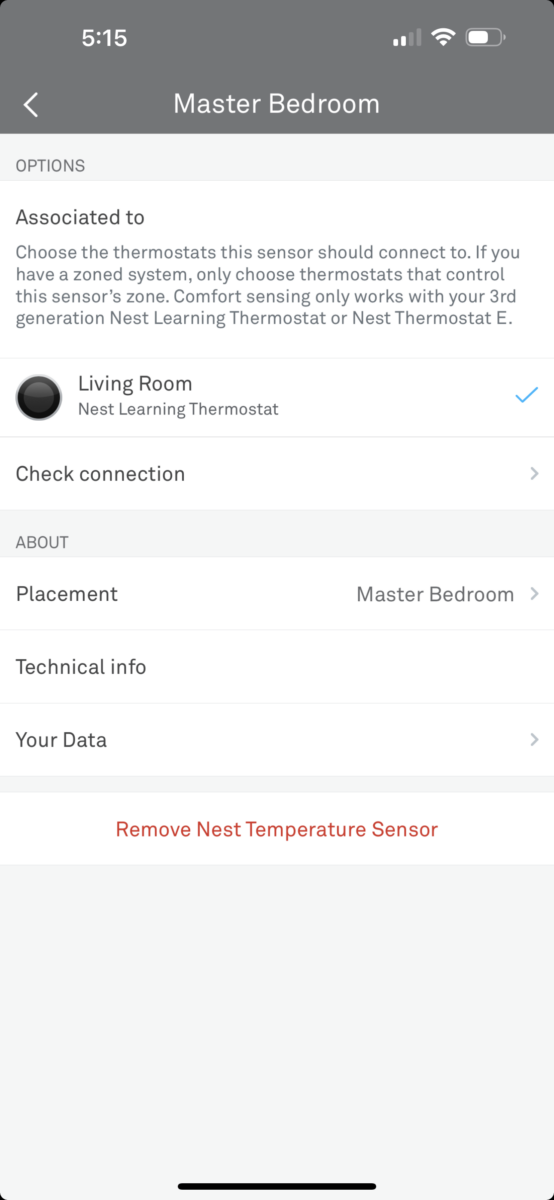
- Choose the sensor
- Click Associated to. To choose the thermostats, this sensor should connect to
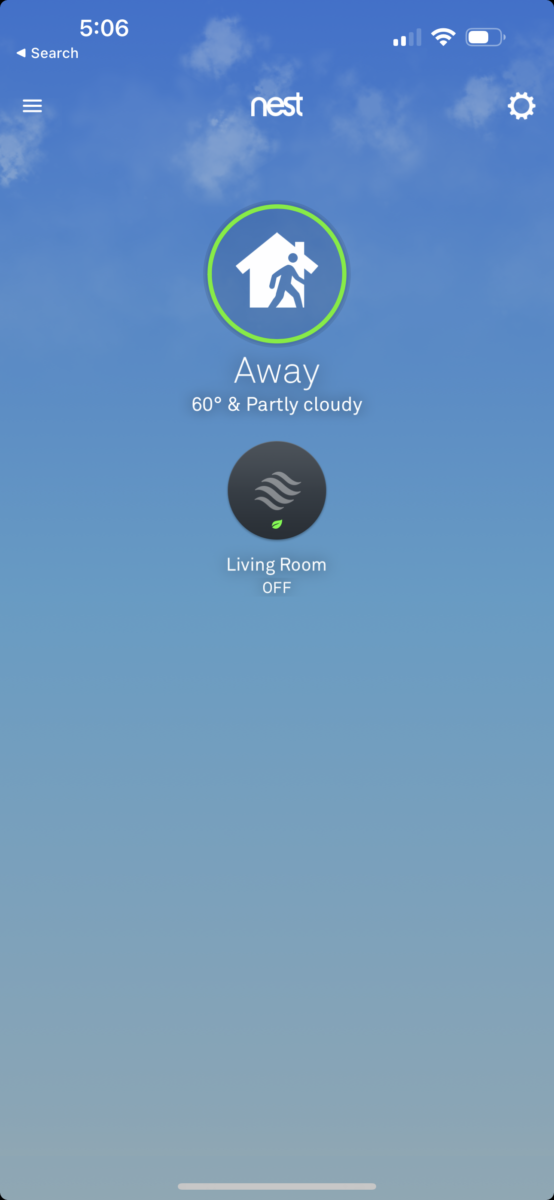
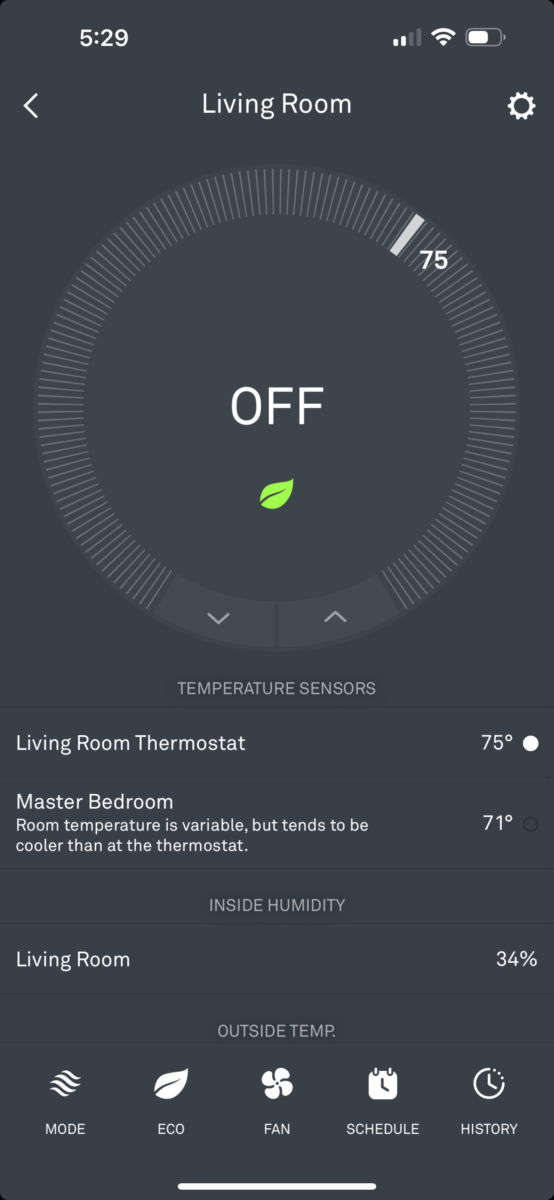
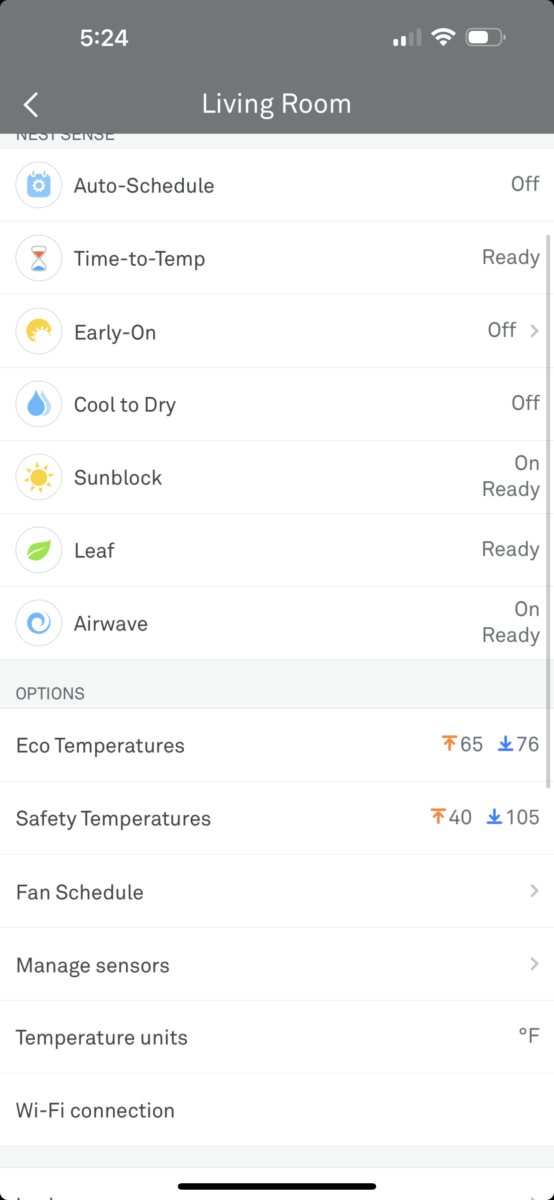
- Set Sensor schedule. Go to thermostat Settings (in the app)
- Click Manage sensors
- Choose when the system will use a Thermostat built-in sensor and when the system will use a wireless sensor (for example, at night)
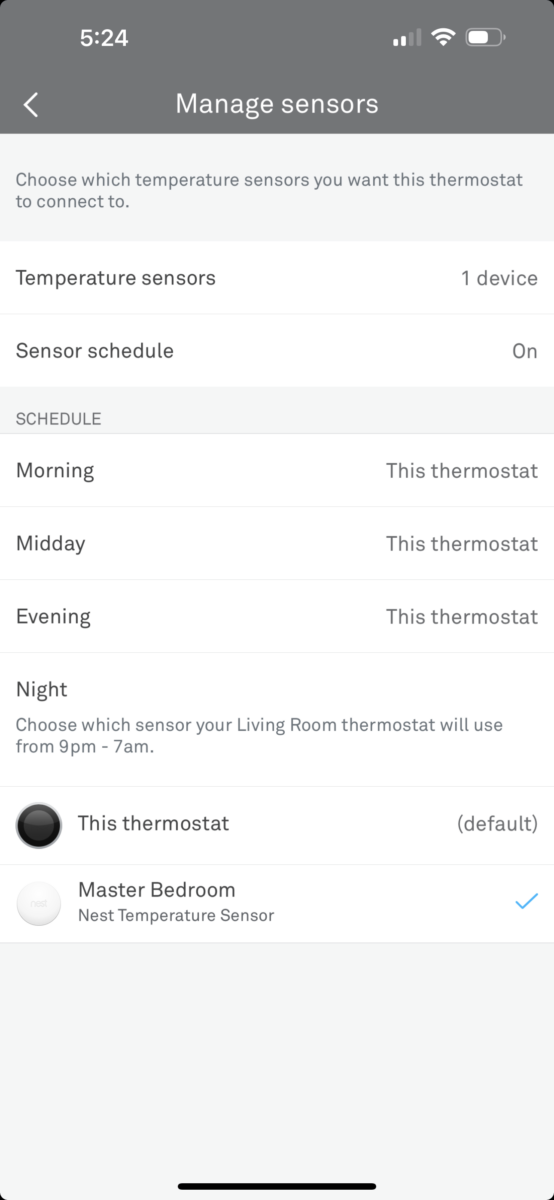
Troubleshooting Nest Thermostat: the Nest Sensor Lost Connection to the Thermostat.
If the Nest sensor quit working. It’s a relatively easy fix. To reconnect the sensor:
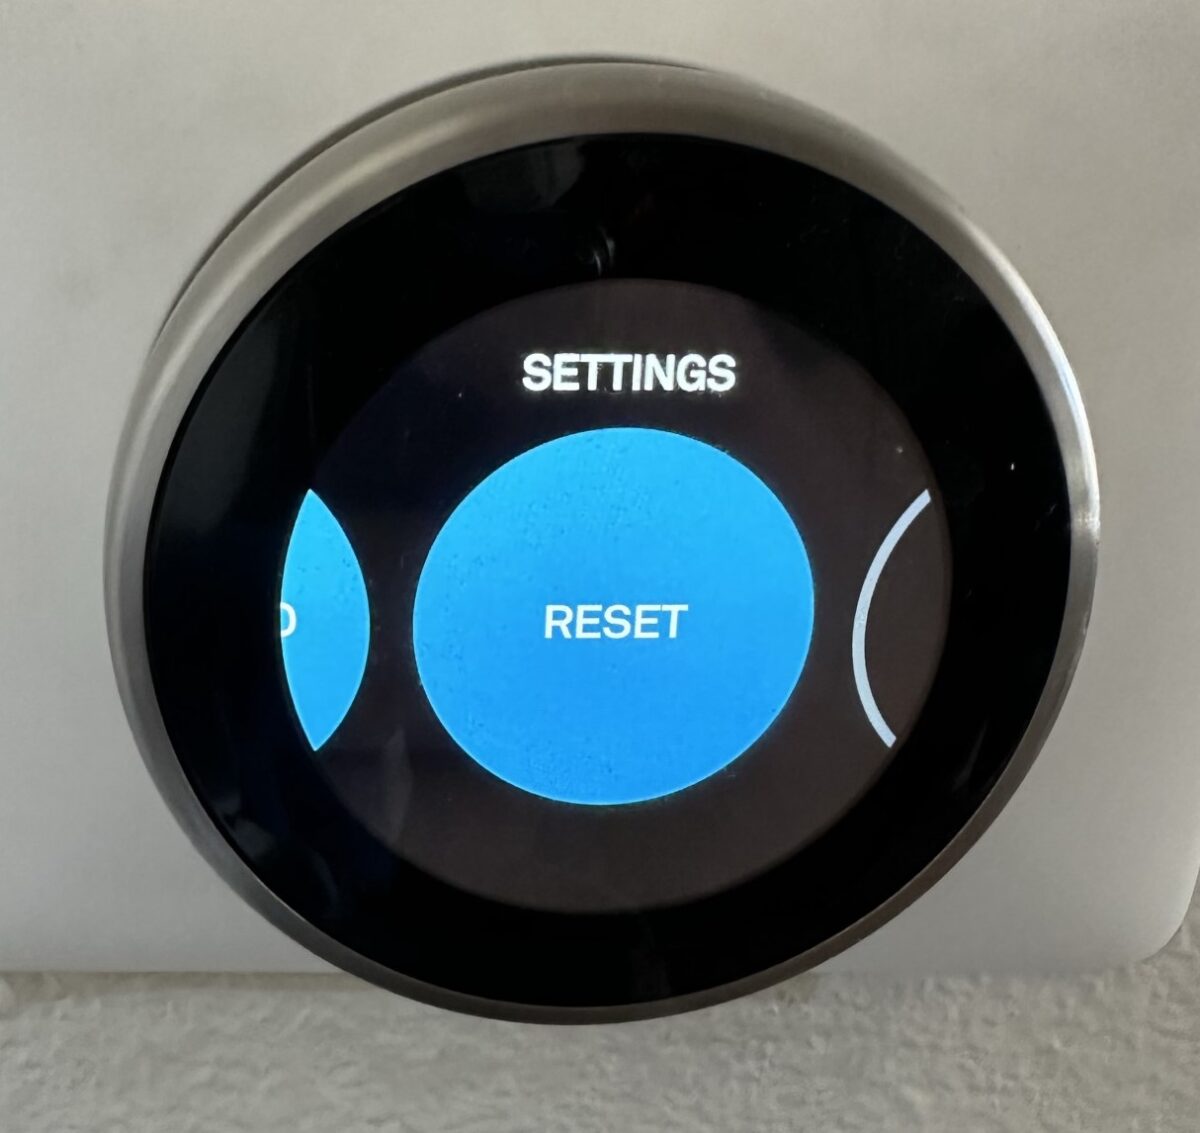
- Go into Settings on the Nest thermostat
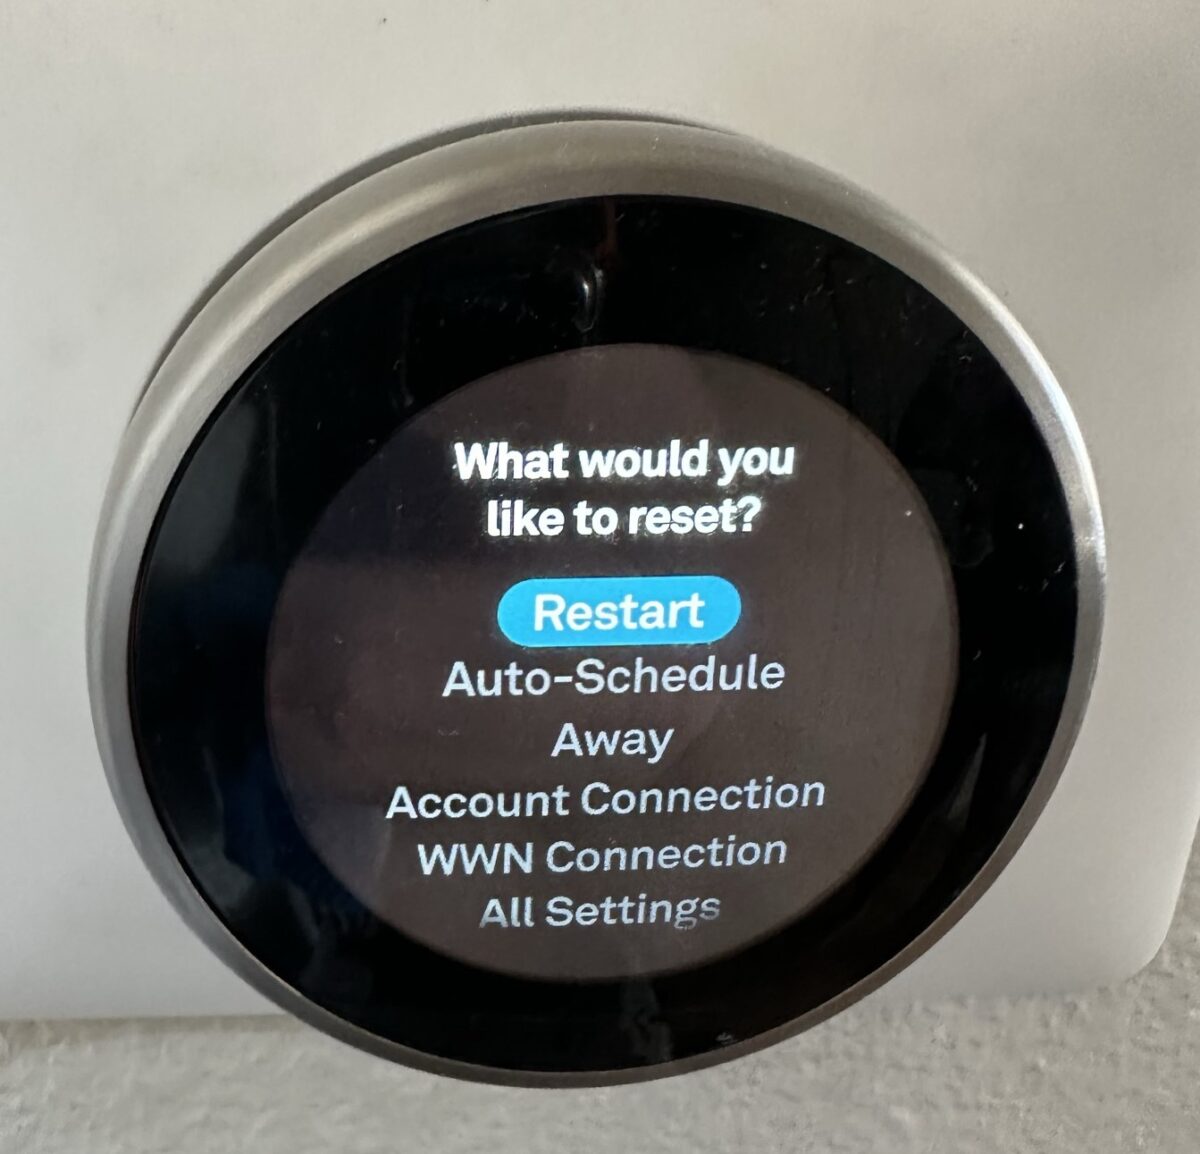
- Go to Reset
- Click Restart (do not scroll down and delete everything on the thermostat).
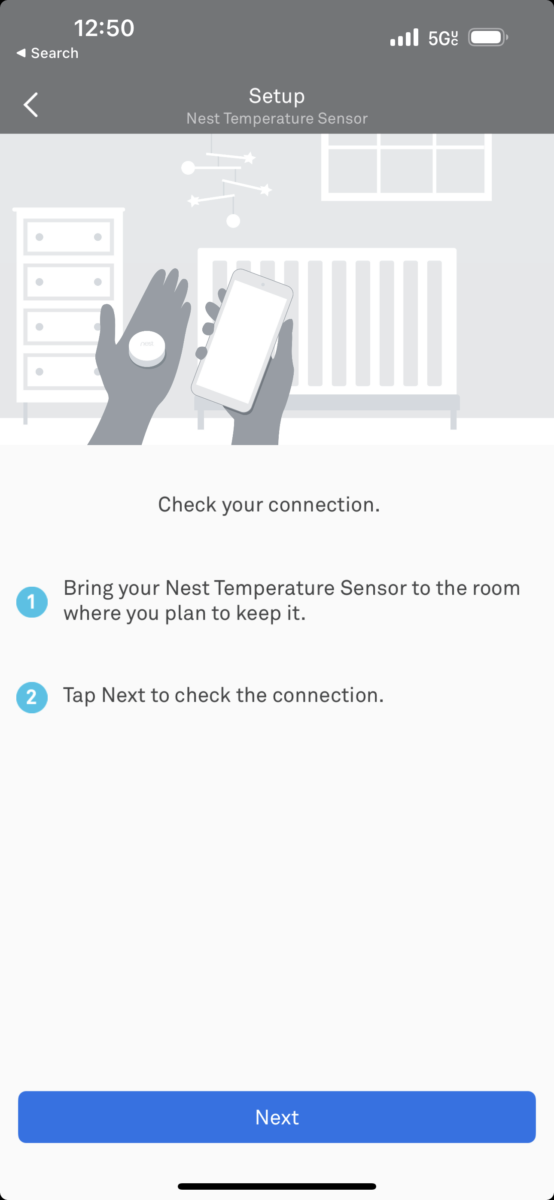
- When the thermostat resets, check sensor connection via the app again.
We hope this article was helpful for you to set up the Nest thermostat. And if you need professional HVAC assistance, please do not hesitate to contact us — call (408) 898-1576 or drop an email at support@fuseservice.com and we will be happy to help!
